Skip to Main Content
Roosevelt University in Chicago, Schaumburg and Online - Logo

COE Video Creation and Sharing

Instructions For Uploading Video to Mac

Import to your Mac

You can use the Photos app to import photos from your iPhone, iPad, or iPod touch to your Mac without using iCloud Photos. These steps also work for importing images from digital cameras and SD cards. 

  1. Make sure that you have the latest version of iTunes on your Mac. Importing photos to your Mac requires iTunes 12.5.1 or later.
  2. Connect your iPhone, iPad, iPod touch, or digital camera to your Mac with a USB cable. If you're using an SD card, insert it into the SD slot on your Mac, or connect it using a card reader.
  3. You might need to unlock your iOS device using your passcode. You might also see a prompt on the iOS device asking you to Trust This Computer. Tap Trust to continue.
  4. On your Mac, the Photos app automatically opens. If it doesn't, open the Photos app.
  5. The Photos app shows an Import screen with all the photos and videos that are on your connected device. If the Import screen doesn't automatically appear, click the Import tab at the top of the Photos app, or click the device's name in the Photos sidebar.
  6. To import a selection of photos, click the ones you want, then click Import Selected. To import all new photos, click Import All New Photos.
    the Import screen in iTunes
  7. You can now disconnect your device from your Mac. If you imported photos from an SD card or other USB device, safely eject the device first.

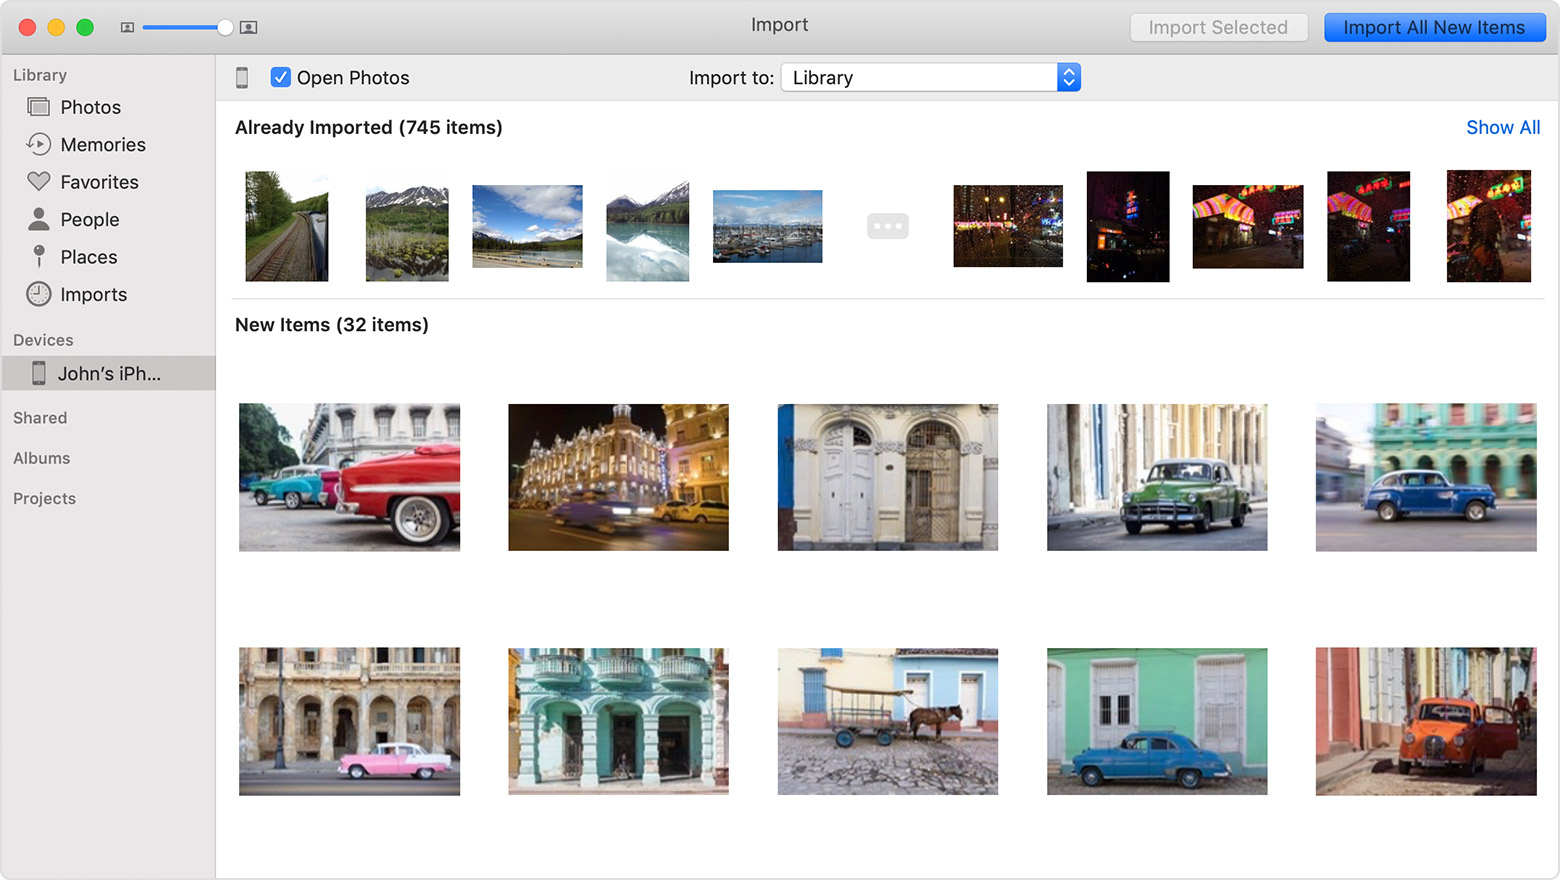
In macOS High Sierra or later, imported photos appear in the Photos app's Import album. If you're using an earlier version of macOS, you'll find them in your Last Import album.

Photos and videos that you sync from your computer to your iPhone, iPad, or iPod touch using iTunes can't be imported back to your computer. 

Learn what to do if you can't import photos from your iPhone, iPad, or iPod touch to your computer.

This information was taken from the Apple website.

Uploading to Google Drive

1. Open your Google Drive and upload the video (Note: You will not be able to immediately view or access your video in Google Drive. It takes time to process. Initially, it will look like a red image:

Picture of the red image

This image will change to the video when it has finished processing:

Picture of Video in Google Drive

2. Once you have successfully uploaded your video to Google Drive, delete it from the iPad. Remember to also delete your video from the trash!